Flat-pack furniture promises convenience, yet many buyers meet a different reality: crowded floors, identical screws, and instructions that resemble tiny comic strips. Why is flat pack furniture so hard to assemble? The problem usually involves compressed instructions, confusing parts, limited tools, and small alignment errors. One misplaced cam lock can tilt an entire cabinet. One overtightened screw can damage soft particleboard.
Furniture assembly trainer James R. Mitchell explains, “The real skill is not speed; it is controlling small mistakes before they become structural problems.” His advice reflects practical workshop experience. Measure the space first. Open every carton carefully. Separate screws into labeled cups. Check each panel against the parts list before turning a screwdriver. A ten-minute inspection can prevent an hour of dismantling.
This guide explores How to assemble flat-pack furniture without losing your mind? It focuses on calm, repeatable methods rather than heroic last-minute effort. You will learn how to read visual instructions, identify reversible steps, protect finished surfaces, and recognize when a joint needs correction. A rubber mallet, a manual screwdriver, and a level can make a surprising difference. So can taking a break.
The process is still imperfect. Some diagrams remain vague. Some holes arrive slightly misaligned. That frustration is real, and blaming yourself helps nobody. However, rushing usually creates more damage than difficulty. Keep the workspace bright. Photograph complicated stages. Ask someone to hold large panels when needed. The goal is not flawless assembly. It is a stable, safe piece of furniture, built with fewer avoidable mistakes.
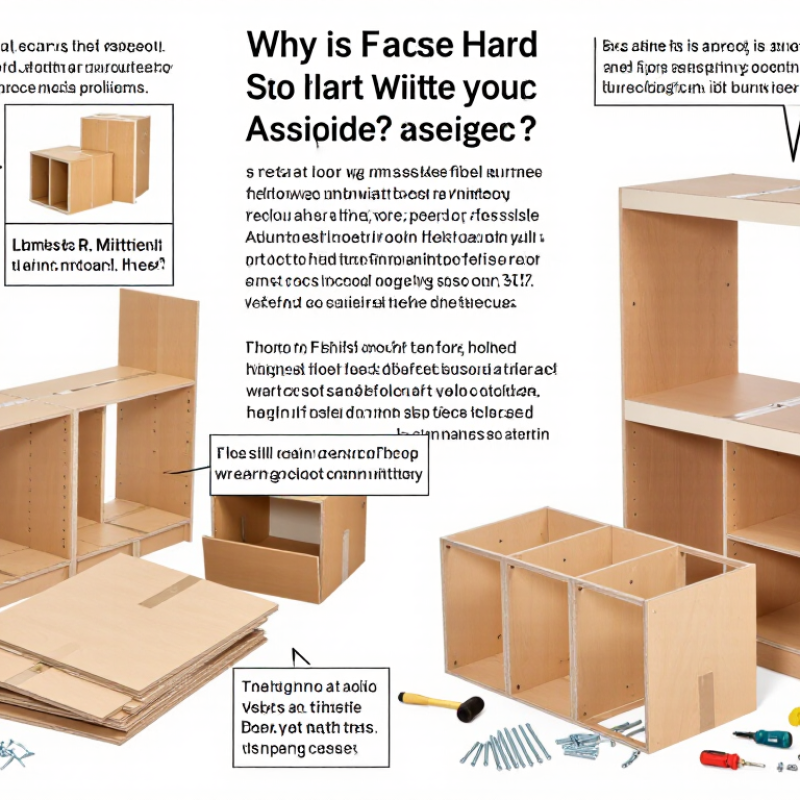
Why Is Flat Pack Furniture So Hard to Assemble?
Flat-pack furniture looks simple because its parts arrive neatly arranged. Yet the real challenge begins when separate panels must become a stable structure. Assembly involves identifying components, reading diagrams, checking hardware, and following the correct sequence. A single misplaced screw can affect the final alignment.
Most projects begin with sorting every panel and fastener on a clear floor. Match each piece with the instruction drawings before using tools. Keep the pieces visible. That small habit prevents repeated disassembly later. A measuring tape can also confirm panel lengths when illustrations seem unclear.
The next stage involves joining panels without damaging their edges. Fastening should feel firm, not forced. Do not fully tighten every screw immediately. Slight movement helps you correct gaps and align corners. Many panels use cam locks, dowels, or concealed brackets, so each connector needs a specific position. Drawer runners and hinges require careful spacing. If a hole looks shallow or misplaced, stop and inspect the diagram. Never force it.
From practical experience, a soft floor protects finished surfaces during assembly. Good lighting reveals uneven gaps and missing washers. I once tightened a side panel too early, then discovered an upside-down backboard. That mistake required extra time and patience. Reliable assembly depends on steady checking, not speed. Take your time.
After years of assembling cabinets and desks, I have learned that difficulty often begins before the first screw. Many products use compact panels, hidden connectors, and reversible parts to reduce shipping space. These choices help manufacturers, but they can confuse users. A cam lock may look simple, yet its direction matters. A slightly misplaced dowel can twist an entire frame. Small errors grow quickly.
Designers also choose narrow holes, tight tolerances, and limited tool access. These features can improve strength, but they demand accuracy. Some panels look identical while fitting only one position. Diagrams may show arrows without showing the panel’s actual front edge. That gap between technical logic and human perception creates frustration. Even experienced assemblers make mistakes. I once installed a drawer rail upside down because the illustration was technically correct, but visually unclear.
Lay every panel flat before starting. Separate screws into small containers. Check hole positions, not just panel shapes. Tighten connectors gradually, then square the frame. Use a hand screwdriver when resistance increases. Power tools can strip soft material quickly. Keep the instructions nearby. Do not trust memory. A phone photo of each step can help during disassembly.
Good design should guide the user through physical feedback. Parts should resist incorrect placement, not quietly accept it. Clear labels, visible orientation marks, and accessible fasteners reduce assembly time. Still, no instruction system is perfect. User testing with tired, first-time assemblers can reveal problems that a polished prototype hides. That testing is often missing.
Flat-pack furniture often becomes difficult before the first panel is attached. The real trouble usually starts with the instructions and hardware. A small drawing may show two nearly identical screws, but their lengths can differ by only a few millimeters. I once used a longer screw in a thin side panel. It raised a small bump on the finished surface. That mistake was avoidable, yet the diagram made both parts look interchangeable. Good instructions should identify scale, direction, and hidden edges clearly.
Hardware confusion grows when parts are packed together without labels. Screws, cams, dowels, and washers can look like loose metal clutter. Count every piece before assembly. Then place each type in a separate cup or on masking tape. Measure uncertain screws against the parts list, not memory. A screw that feels “about right” may split a panel or leave a joint weak. Keep the instruction sheet flat and read the next step fully. Skipping one sentence can reverse a panel later.
Clearer diagrams would use actual proportions, enlarged details, and arrows showing rotation. They should explain which holes remain visible. Manufacturers also need consistent names for left and right components. Still, users share responsibility. We often rush, ignore a warning, and blame the manual. I have done that. A slow trial fit exposes errors before tightening. If a joint needs force, stop and check the hardware, hole position, and panel orientation. A stubborn connection is often a communication problem, not a strength test.
Flat-pack furniture feels difficult because several small errors can combine quickly. The tools, parts, and alignment all influence the final result. A basic screwdriver may work, but the wrong size can damage a screw head. A small hex key also becomes tiring during repeated turns. I usually keep a manual screwdriver, a rubber mallet, and a measuring tape nearby. Power tools can help, but excessive force may strip the fittings.
Parts create another challenge. Similar boards often have different holes, edges, or surface finishes. I once attached a side panel upside down because I trusted its shape instead of checking the diagram. That mistake cost more time than the assembly itself. Sorting every panel and fastener on the floor can prevent confusion. Small bags should stay separate. Missing one connector can stop the entire frame.
Alignment is usually the hardest part. Screws should remain slightly loose until the main structure is positioned correctly. Tightening one corner too early can pull the frame out of square. I check the gaps between doors and measure opposite corners before final tightening. A level surface helps, although my floor is not perfectly even. That detail still causes problems. Sometimes I blame the instructions, but I may have rushed the inspection. Careful pauses often matter more than speed.
Flat pack furniture is rarely difficult because of one complicated step. It becomes difficult when small errors stack together. A panel flipped early can move every later hole by a few millimeters. That shift strains screws, cam locks, and dowels. The frame may still stand, but its doors will scrape. I have seen this happen with a cabinet assembled on a hard floor. The first mistake was almost invisible. The final gap was not.
Assembly instructions often separate related decisions across several drawings. A builder may install similar-looking rails in reversed positions. Later, the correct screw feels too short, so a longer screw seems like a sensible repair. It can split a thin board or prevent a joint from closing. Tightening also creates compounding errors. When one corner is forced square, another corner can lift. Over-tightened fasteners compress particleboard and reduce their grip. A hand screwdriver gives better feedback than a power tool here. Stop when the joint is firm, not when the head disappears.
A reliable process uses a clear floor, good lighting, and a parts check before assembly. Keep labels facing upward, and compare hole patterns rather than appearance. Loosely fit the main frame, then measure both diagonals before final tightening. I once skipped that check and corrected the cabinet twice. I still rush sometimes. That wasted time and weakened one joint. The lesson is uncomfortable: speed at the beginning often creates slower work later. Errors compound quietly, then become mechanical problems.
Compact panels, hidden connectors, and reversible parts save shipping space. They also make orientation harder. Small errors can twist the entire frame.
Count every piece before starting. Place screws, cams, dowels, and washers in separate cups. Loose metal clutter causes avoidable mistakes.
Compare its length with the parts list and panel thickness. Two screws may look nearly identical. A longer screw can raise a bump.
Check hole positions, finished edges, and visible surfaces. Similar boards may fit only one position. Trust the diagram, not shape alone.
Keep a manual screwdriver, rubber mallet, and measuring tape nearby. Use a correctly sized driver. Power tools may strip soft material quickly.
Loose connectors allow the frame to move into position. Tightening one corner early can make the structure uneven. Square the frame before final tightening.
Stop and inspect the hardware, holes, and panel direction. A stubborn joint may signal an assembly error. Force is not always progress.
Diagrams should show actual proportions, rotation arrows, and hidden edges. Labels should distinguish left and right parts. Even careful users can misread unclear drawings.
Yes. I once installed a drawer rail upside down. A slow trial fit would have exposed the error. Do not trust memory.
Keep instructions nearby and photograph each step with a phone. Store small parts separately. Future repairs may expose forgotten mistakes.
Flat-pack furniture assembly involves more than simply following a sequence of steps. Each project requires unpacking, identifying many similar-looking parts, interpreting diagrams, and connecting panels with small pieces of hardware. Design choices such as tight joints, hidden fasteners, limited access points, and multi-purpose components can make the process difficult, especially when several parts must be aligned at the same time. Instructions may also create confusion when illustrations are unclear, steps appear out of order, or hardware differs only slightly in size and shape.
The right tools, a clean workspace, and careful organization can greatly improve the experience. Sorting parts before beginning, checking measurements, and avoiding excessive force help prevent damage and misalignment. Small errors made early can compound later, causing gaps, unstable joints, or the need to partially disassemble the furniture. The question “How to assemble flat-pack furniture without losing your mind?” is best answered with patience, methodical progress, frequent alignment checks, and a willingness to reread each step before moving forward.

Lullaby Furniture